

Bird nests; one of nature’s most abidingly beautiful things, evocative of spring & new life. Did you know that birds make on average 500 trips to build a nest, working with barely a pause for several days on end? And that if you’re a poor male Weaver bird, your nest is the dating equivalent of a statement of your net worth, your DIY skills and your general domesticity and attention-to-detail all in one? Frankly, if your nest doesn’t cut it, you’re destined to remain the eternal bachelor. And that’s a lot of pressure, I’m sure you’ll agree.
Fortunately these homemade nests (above and below) take about 30 minutes and require only a good rummage under the hedgerows, a small amount of dexterity and creativity, and a dab of glue. Oh, and a few well-placed hair grips. They may not attract exotic winged wildlife to take up residence, but they will look very pretty as an Easter table centrepiece, or strewn around the house decoratively through Spring. Mine are currently perched on the kitchen windowsill and tucked into bookshelf corners, and make me smile in the morning.


A tiny nest has even found its way into the pocket of Harry’s waistcoat, watched over by a territorial pheasant (a lingering Christmas tree decoration).


The fabulous thing about bird nests – in real life and here – is that each and every one is different. You can use different materials to construct it, and weave all manner of things into the basic structure. Through trial and error I’ve found that there are three main good things to build your basic shape with;
Salim, or seagrass, is perfect. I got a huge bundle from my local garden centre / florist for a few pounds, and it’s a (messy) delight to work with as it naturally binds itself together
Raffia is very widely available and comes in many different colours. It’s great for kids to work with and also good for building nests that will house chocolate or candy eggs
Handfuls of reeds, creepers, living willow or other garden plantstuff also work well; you want a good thick handful of whatever you choose, at least 12-18 inches in length. Green willow will become brown and stiff as it dries out, but is very malleable when freshly cut.

Once I’d bought my seagrass, we went to the park to gather up bits and pieces to adorn the nests. Harry loved this bit, racing back to us with carefully cupped handfuls of treasures including feathers, bits of string and pebbles, interestingly shaped twigs… we threw it all in to our collecting sack. Duck feathers are particularly beautiful as they tend to be very small and speckled, sometimes with hints of blue and green which look gorgeous when you add in eggs to the finished nest. Whilst Harry and I fearlessly waded amongst mounds of duck poo to collect tiny, crusty feathers, my husband grew restless; ‘Would it speed things up if I just kidnap a duck for you to pluck later?’ he enquired, through chattering, gritted teeth.

Once you’ve assembled everything (in a clear, sweepable space; don’t do this on a carpet, trust me..), find some clothes pegs, craft glue and simply hair grips like these which you’ll use to hold the nest together. Now, we begin..!
Step 1: Take a thick handful of your seagrass (or raffia, etc), about 12-18 inches long (like a bundle of spaghetti). Bend it into a tight tyre or wreath shape and secure it in place. You can do this by tying it with string or wire, or by clipping it temporarily with clothes pegs and then using a glue gun, removing the pegs when dry. You should end up with a messy but firm hoop like this below; don’t worry that it has no ‘bottom’; we’ll fill this in later.

Step 2: trim off all of the bits that stick out (decide whether you want a very neat, trimmed nest to impress the neighbours, or a more random, scruffy one; I like both in different ways). Tuck a loose ball of seagrass and offcuts into the hoop to make a base. This will hold blown eggs very easily, but if you’re planning on putting anything heavier in the nest you might want to place it in a bowl or on a plate at this stage. Place it on its ‘bottom’ and make sure it is stable, neatening up where necessary.

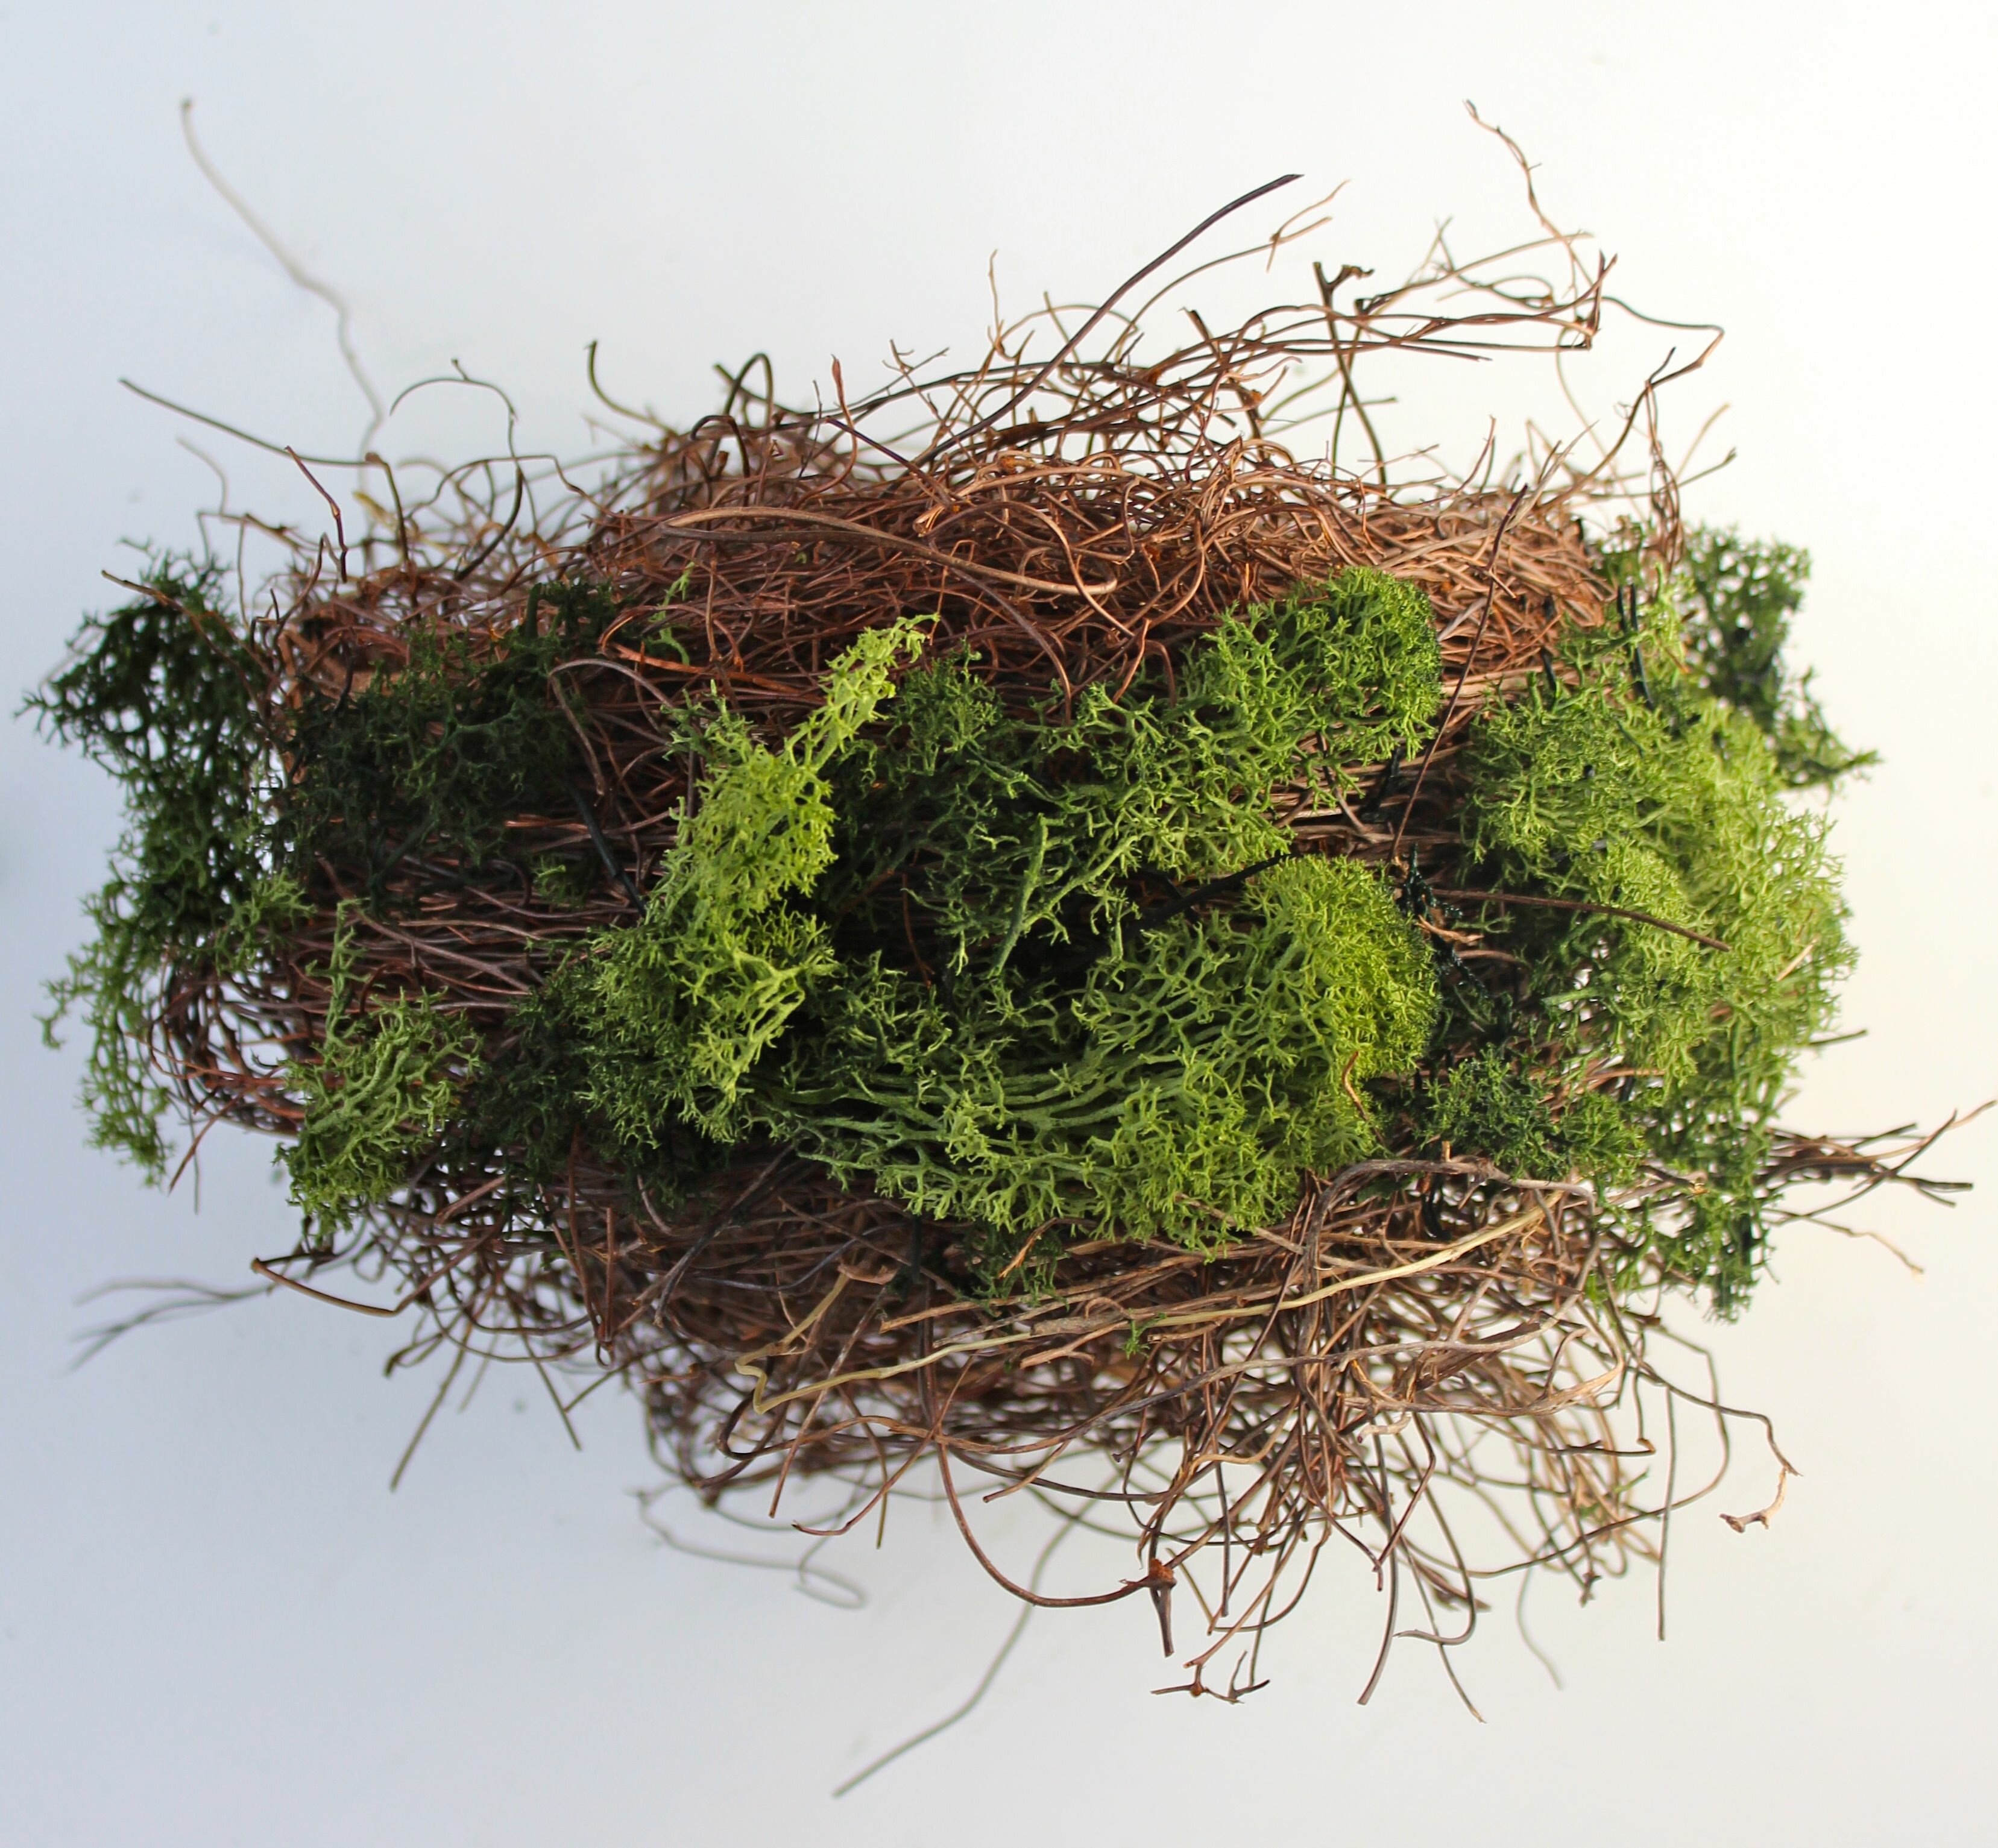
Step 3; Now you can start to accessorise your nest. You can add moss (real of faux) by dotting it around the edges and securing with either hair pins (pushed straight in), or by wrapping around with brown or invisible thread. Strands of leafy ivy are a great alternative. Then tuck feathers in around the sides and top edges, along with any other treasures that you’ve gathered along the way;


Your nest is now ready for eggs!


I’ve used a mixture of hand-blown quail and duck eggs in my nests, some of which I’ve dyed and speckled using a dry-bristled paintbrush dipped in paint, and some shop-bought ones too. For a step-by-step tutorial on how to dye and speckle eggs, have a look at this post I wrote last year by clicking on the picture below;

Now, I must leave you in order to go sweep up in the aftermath of our nest-building frenzy, but first a quick but heartfelt ‘thank you’ for all of the lovely comments, likes and for those of you who have signed up for more, week after week; it puts a spring in my already-bouncy step and makes it all very worthwhile…
Have a lovely weekend!

Kate …. genius … as always!
Now when exactly are you and Harry moving down here to TheSomersetFlowerFarm?
I could sooo use your talents, and time, for creativity!
I will use your nest ideas for my displays in my little Barn Shop, in amongst displays of #mybritishcutflowers and on the tables for Open Day at the Farm.
Keep Blogging, you are a very talented lady, and a wonderful, fun, energetic Mum!
Mandy
Thanks Mandy! Your barn shop sounds divine… I wish we had something like that near here!
Hi Kate – these are really beautiful. I wonder if you popped one in a hedge in the garden after Easter if you’d find someone would take up residence. Wouldn’t that be lovely! As ever… very inspiring – thank you for such a lovely spring flavoured post.
Bex.x
You seem to make such lovely things – I adore the pheasant in the waistcoat! My question is what do you end up doing with them – when the next lovely project comes along will you bin these beauties? My projects aren’t nearly so good but I can never bring myself to bin them, and it is highly questionable if people would like the art work I’ve been doing with the kids glueing bottle tops on to found bits of wood! Nicola http://homemadekids.wordpress.com
Hi Nicola – I’m like you; I can never quite throw anything away! These I think I will tuck in amongst books on shelves and in nooks and crannies and let them gradually become part of our decor… at least until they gather so much dust that I am shamed into disposing of them…
Precious! Enjoy your little nest!
Precious! Enjoy your nest.
Se7en's Fabulous Friday Fun #160 - se7en
[...] If you aren’t following Kate’s Creative Space… then get over their and follow all her loveliness… take a look at t… [...]
I’ll have to give this a try … I just love the photos!
Ooh aren’t they lovely – I bet you’ve got a queue of birds outside your window ready for viewings. One nest, new build, one careful owner, no ongoing chain – the nest buyers dream! Love the spotty feathers, you have far more exotic local birds than us!
Jones x
Loving the nests, they’re are beyond cute. Would love to make some but having trouble finding seagrass, which garden centre did you get it from? Thanks, Lyne
Hi Lynne, thank you I got them from http://www.longacres.co.uk in Surrey (UK); they have a huge covered outdoor section with floristry supplies and interesting bits of wood and branches, etc. Alternatively it’s also worth asking a local florist if they can source you a bundle, as I suspect they are sold wholesale from large flower markets and suppliers. Good luck..
Great tutorial! Looks cool! Thanks for sharing Kate!
The nests look amazing, and the photos are beautiful.
Wow, these nests are amazing! I LOVE these. You take beautiful photos, too
Such beautiful little nests – and your staging/photography is just stunning.
Absolutely gorgeous Kate – perfection every time!
Keep up the inspirational work!
Thanks for that. Longacres was going to be my next stop at the weekend as my niece can’t wait to make some bird nests for her new bookcase.
Brilliant tutorial. I really want to get cracking with my spring/Easter crafting now. Also, I am now in possession of my first bell jar – hello seasonal vignettes and little displays!! I will be looking here for inspiration. x
Wonderful, inspiring images! Nests have always been a fascination of mine – I tend to make them out of recycled steel, wire and other found materials. Thanks for sharing yours
The photographs – the compositions – the concepts – they took my breath away. Beautiful nature beautifully conceptualized. Virginia
Came via Pinterest and really enjoyed the nest tutorial.
I found you today in “Artful Blogging” and I’m so thrilled I did! You’ve inspired me to try to craft a bird’s nest for a terrarium soon. Keep up the inspiring blogging!
Ah thank you Keri, I really appreciate it! Have wonderful Easter…
aaaw this is a great idea to start with!!! It is looking lovely, thank you for the sharing;-D
Beautiful!